Or, the distro I should have never left
Less so now than years ago, distro hopping is still something I’m compelled to do. I tend to stick with the *buntus, yet, every so often, a new feature or desktop will hit a distro outside of my usual orbit, and I’ll get the urge to try it out. Fedora is one of those far away distros. Which release it was escapes me now, but a foray was inevitable when I had heard the memory leaks in Gnome were sorted out. And another with Solus when I learned their Linux Steam Integration was baked right in.
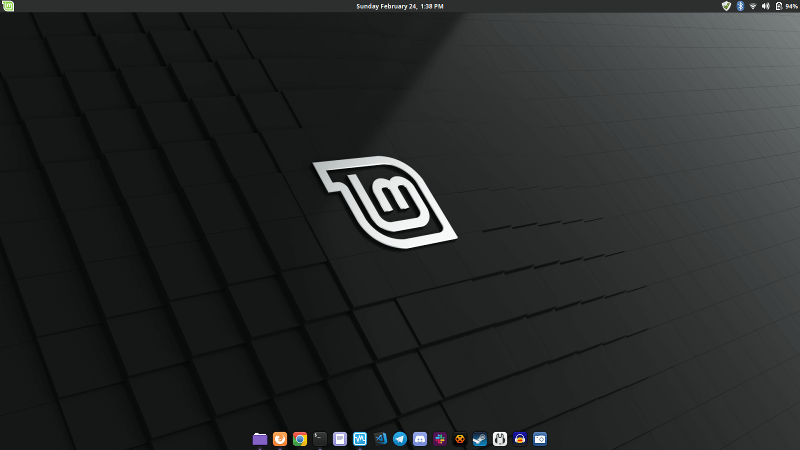
After the distro hopping was out of my system for a while, around November, I finally landed on Linux Mint Cinnamon Edition. I’ve been here before. A familiar grey and lime green interface with some marked improvements, much akin to Windows 7 and Solus’ Budgie. The recognizable interface couldn’t quite cut what I had grown to love in elementary OS, and to a lesser extent, Ubuntu Budgie during my time hopping. The icon-only launcher, or dock, made famous by Apple in MacOS, is something that made the most sense to me. Luckily, Plank is almost universal in repositories at this point.
So, we’ve come to the part of this post where I finally get to the point. I can’t say I go too far out of my way to customize my interface, but here are some things I think make my Mint install uniquely mine, and perhaps, you can take some of this, too.
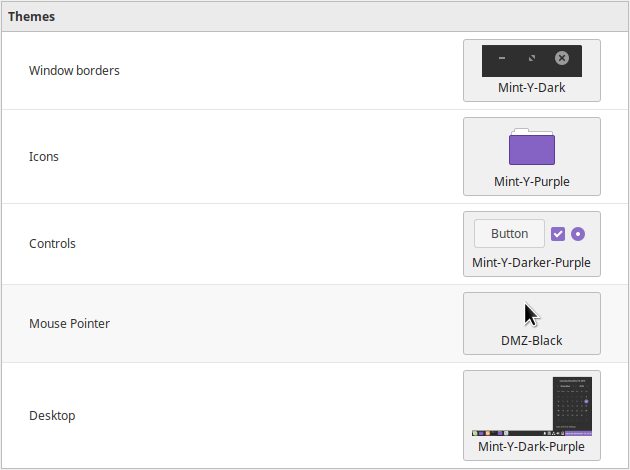
Use the Mint-Y[-Dark,-Darker] Theme
Open the Mint Menu and find Themes. Change Window Borders to Mint-Y-Dark. For the Icons, choose your favorite color variant of Mint-Y. Do the same for the Controls and Desktop sections, as well. Finally, I change Mouse to DMZ-Black.
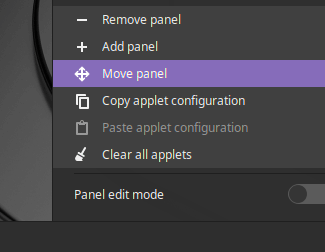
Move the Panel to the Top
If you’ve used Cinnamon and have a taste for a little customization, you may have already done this, but for those that haven’t. Right-click somewhere in the blank space of the bottom panel. Hit “Modify panel” then “Move panel”.
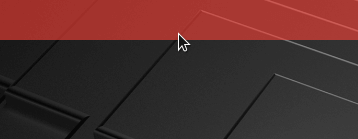
Using the red highlighted space around the edges, click one to choose where you want the panel to go.
Move the Clock and Notifications to the Center
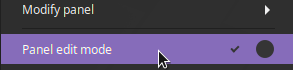
This quick little procedure begins with right-clicking in the empty space in your panel and turning on Panel edit mode. Then drag the clock into the green box in the center of the panel. Do the same with the notifications icon. It’s the one that looks like a bell. Then, turn off Panel edit mode.

Install Plank
You can install Plank in one of two ways. My favorite, of course, is the terminal. So, launch one and type
sudo apt install plankOr if you’re more graphically inclined, launch the Software Manager, search for Plank, and install it. Once done, launch Plank from the menu, or run plank in the terminal. You should now see Plank!
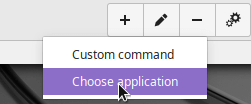
Now, to make sure that Plank starts up at boot from now on, open the Mint menu and find and launch Startup Applications. Click the plus at the bottom of the windows and then Choose application.
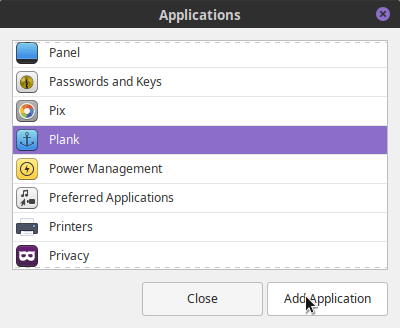
Find Plank in the list, and double click it or select it and click Add Application. It will automatically be switched on at this point, so on your next login, it will show up all by itself!
Customizing Plank
Once it’s starting up, the trick you’ll learn quickly with Plank is to launch all of your usual software once from the Mint Menu, right-click on its icon in Plank and choose Keep in Dock. You can move things around once all your software is there. And also, the act of moving your application into the position you want will turn on Keep in Dock, too!
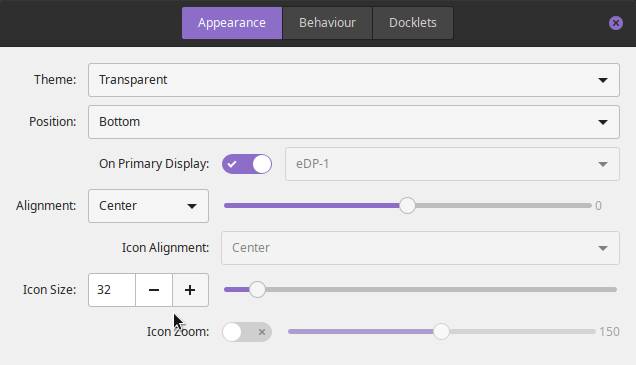
Any additional tweaking you’d like to do in Plank must be done in the Plank preferences window. This window can only be launched through the terminal, from what I can see, so to get there, open a terminal and type plank --preferences. Make changes as you wish. The only changes I make here are changing the Theme to Transparent and changing the Icon Size to 32.
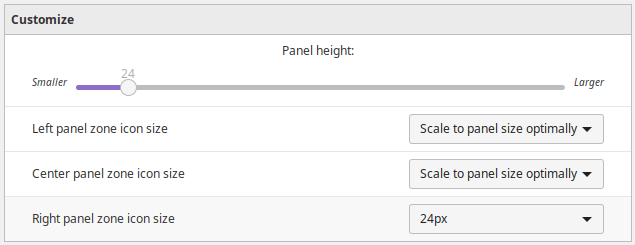
Shrink the Panel to 24px
To keep things small and tidy up top, right click the empty space in your panel again and click Panel Settings. Here, drag Panel height: down to 24.
Remove the Default Launcher
This is pretty optional, but I find it redundant to have Plank running (which we’ll install later) and the launcher in the panel. However, I’ve seen some setups with both, so decide how you like it.
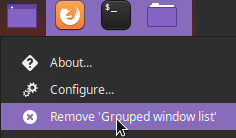
To remove the Default Launcher, though, right-click in an empty part of the panel, and turn on Panel edit mode.
Right click on one of the icons in the launcher, and choose Remove ‘Grouped windows list’.
I also take it one step further and remove the Show Desktop button as well. This creates less clutter, and since I use Super+D to the same effect, it’s not needed.

There You Have It
Hopefully this write-up helps you along the way in your Mint customizing endeavors! Good luck out there.
Leave a Reply to Thinkpad T450s Multi-touch Fails After Suspend – zen_admin Cancel reply